
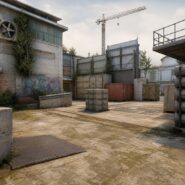
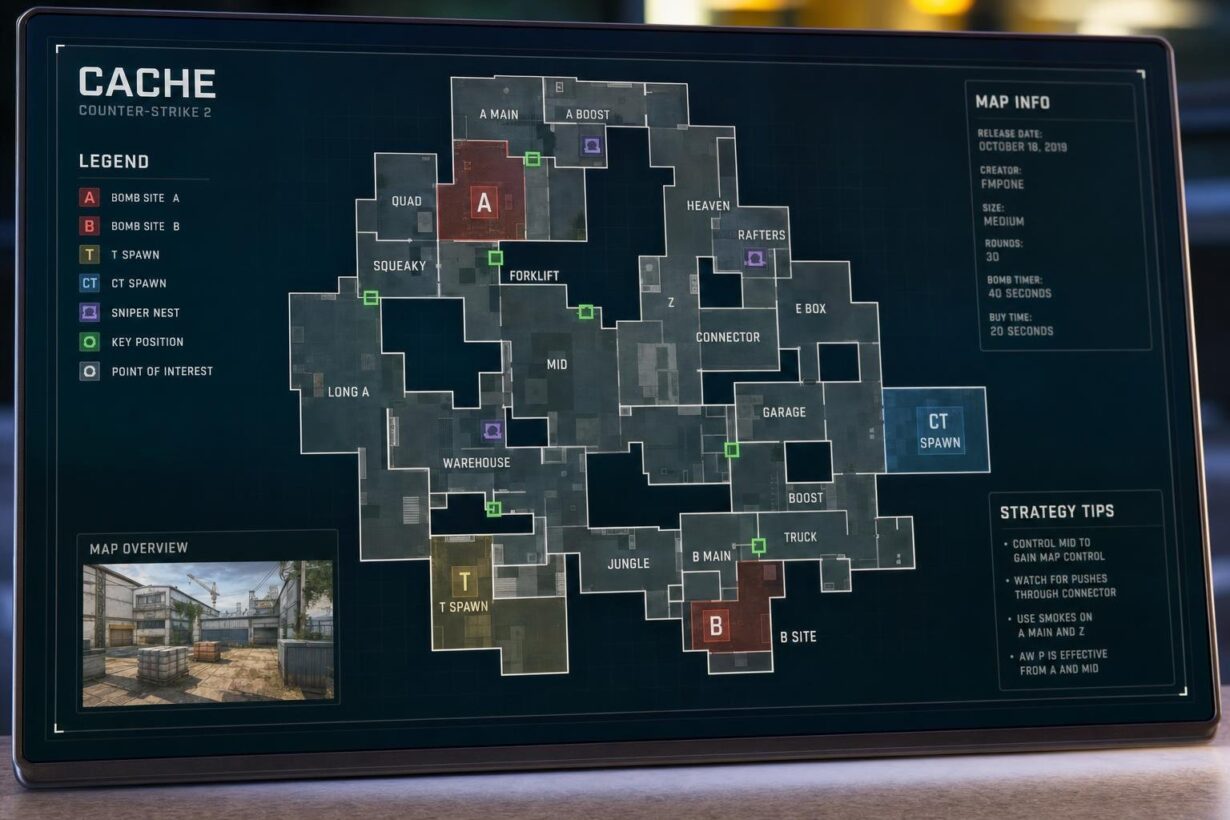

Cache is back in CS2 as of April 2026, and if you want to hold your own in competitive matches, you need to speak the same language as your teammates. CS2 Cache callouts are the shared vocabulary that turns five solo players into a coordinated unit. Learning them is the single fastest way to improve your win rate on this map.
Whether you are a returning veteran or a newer player exploring Cache CS2 for the first time, this cheat sheet provides the most accurate cache map callouts. Each entry includes a quick explanation of where it is and why it matters. Clear communication is what separates a great team from a good one.
The map rewards mid control more than almost any other location. Safe rotations through Vents, early picks at Boost, and smoke placement around Z Connector shape the outcome of most rounds. From there, clean communication on the A and B bombsites makes retakes and executes far more reliable. This guide pairs each callout with a concise “where it is plus why it matters” note so you can reference it between rounds and actually retain the info. If you are also looking to pick up CS2 skins to celebrate your return to Cache, platforms built for gamers like Rewardly let you earn them for free through surveys, tasks, and referrals.
Key Takeaways
-
Mid control decides most Cache rounds, so prioritize learning Boost, Z Connector, Vents, and White Box before anything else.
-
Every callout in this guide includes a short “where plus why” note so you can scan it quickly during buy time.
-
Cache callouts in CS2 carry over directly from CS, so returning players only need a fast refresher, not a full relearn.
A-Site Callouts
A Site is the more open of the two bombsites, with long sightlines from A Main and elevated angles off Balcony and Highway. The positions below are listed from the T-side entry path inward, so you can learn them in the order you will encounter them during an execute.
A Main
-
A Main is the wide area directly in front of A Site that connects to A Long through Lockers. It is the primary T-side entry point and where most executes begin.
-
Lockers is the narrow storage-locker alcove between A Long and A Main. It offers a tight angle into the site and is a common spot for early duels.
-
Shroud is the stack of boxes to the far right as you exit A Main onto the site. Named after the former Cloud9 pro, it provides cover for players trying to isolate angles from A Main.
Squeaky
-
Squeaky (or Squeaky Door) is the metal door near A Site that makes a distinctive noise when opened. Opening it instantly gives away your push, so coordinating it with an A Main flash is critical. When entering from here, remember to check close left immediately to clear the corner near NBK.
-
The area just inside Squeaky provides a quick route into the site from the T side and a rotation path toward Highway for CTs.
Quad
-
Quad is the stack of four boxes at the back of A Site near the NBK corner. It is one of the most contested positions on the site because it provides hard cover from both A Main and Balcony angles.
-
Players holding Quad can delay a plant or catch T-side entries off guard. Clearing it with utility before committing to a plant is standard practice.
Forklift
-
Forklift is the forklift vehicle on A Site, roughly center-right. It gives partial cover and is a common anchor spot for CTs playing retake or aggressive site holds.
-
Balcony (also called Heaven A) sits on the elevated metal platform directly above Forklift. It offers a commanding view of the entire site and A Main entrance. The shadowy area directly underneath this platform is known as hell, a common hiding spot for defenders during a retake.
-
A Default is the standard bomb plant position with a clear line of sight from A Main. Planting here lets your team watch the bomb from safety. The large container nearby is the default box, which offers the primary cover for the player planting.
NBK
-
NBK is the corner of A Site near Squeaky, named after the French pro player known for exceptional plays in that exact spot. It is a tight angle that catches entries off guard.
-
Headshot near A Site refers to any dipped position where only a player’s head is visible. Knowing this call helps teammates pre-aim at head level when clearing the site.
-
Truck is the large vehicle in the CT Halls area behind A Site. CTs rotating through here often use it as cover or a callout landmark. This path leads directly to ct spawn, which is the primary starting point for the defending team.
Mid Callouts
The middle of the map is the most strategically important area on Cache. Much like the critical mid control on Mirage, owning this space gives your team access to both bombsites through Vents and Highway. Early-round smokes and aggression here shape the rest of every round.
Z (Connector)
-
Z Connector (often just called Z or Connector) is the indoor passage linking CT Halls to Mid. It gets its name from the Z-shaped path players follow through it.
-
CT Connector is the CT-side mouth of this passage. CTs often hold an off-angle here to catch Ts pushing into mid, so smoking or flashing it is a priority for T-side mid takes.
-
Cubby is a small tucked-in spot to the right when exiting Garage toward Mid, just below Boost. Players hiding here can surprise anyone not checking the corner.
White Box
-
White Box sits between Mid and Highway, acting as a dividing piece of cover. It is a go-to spot for CTs contesting mid because it offers a headshot-level angle while keeping most of your body hidden.
-
Players holding White Box can also spot T rotations toward A through Highway, making it a valuable information position.
Boost
-
Boost (or Mid Boost) is the elevated ledge where two players can stack to gain an early line of sight over mid. It is one of the most recognizable plays on Cache and can win opening duels or gather early info.
-
Mid Roof is the elevated surface players can climb to reach the Vent entrance from the mid side. Controlling Mid Roof is the first step to a Vent-based B split.
-
Sand Bags is a stack of sandbags near Mid Roof toward the Connector. It provides temporary cover during rotations.
Vents
-
Vents is the vent system connecting Mid to Checkers near B Site. It is the fastest rotation route between mid and B and the reason mid control is so powerful on Cache.
-
Dropping through Vents makes noise, so timing your entry to coincide with utility or a teammate’s B Main push keeps the element of surprise. A silent drop into Checkers during a post-plant can catch CTs completely off guard.
-
Garage is the large area directly in front of T Spawn, and Red (or Red Container / T Red) is the red shipping container inside Garage. Both are early-round landmarks for T positioning. Outside this area, near the entrance to middle, sits the t truck, which is often used for cover or utility lineups.
B-Site Callouts
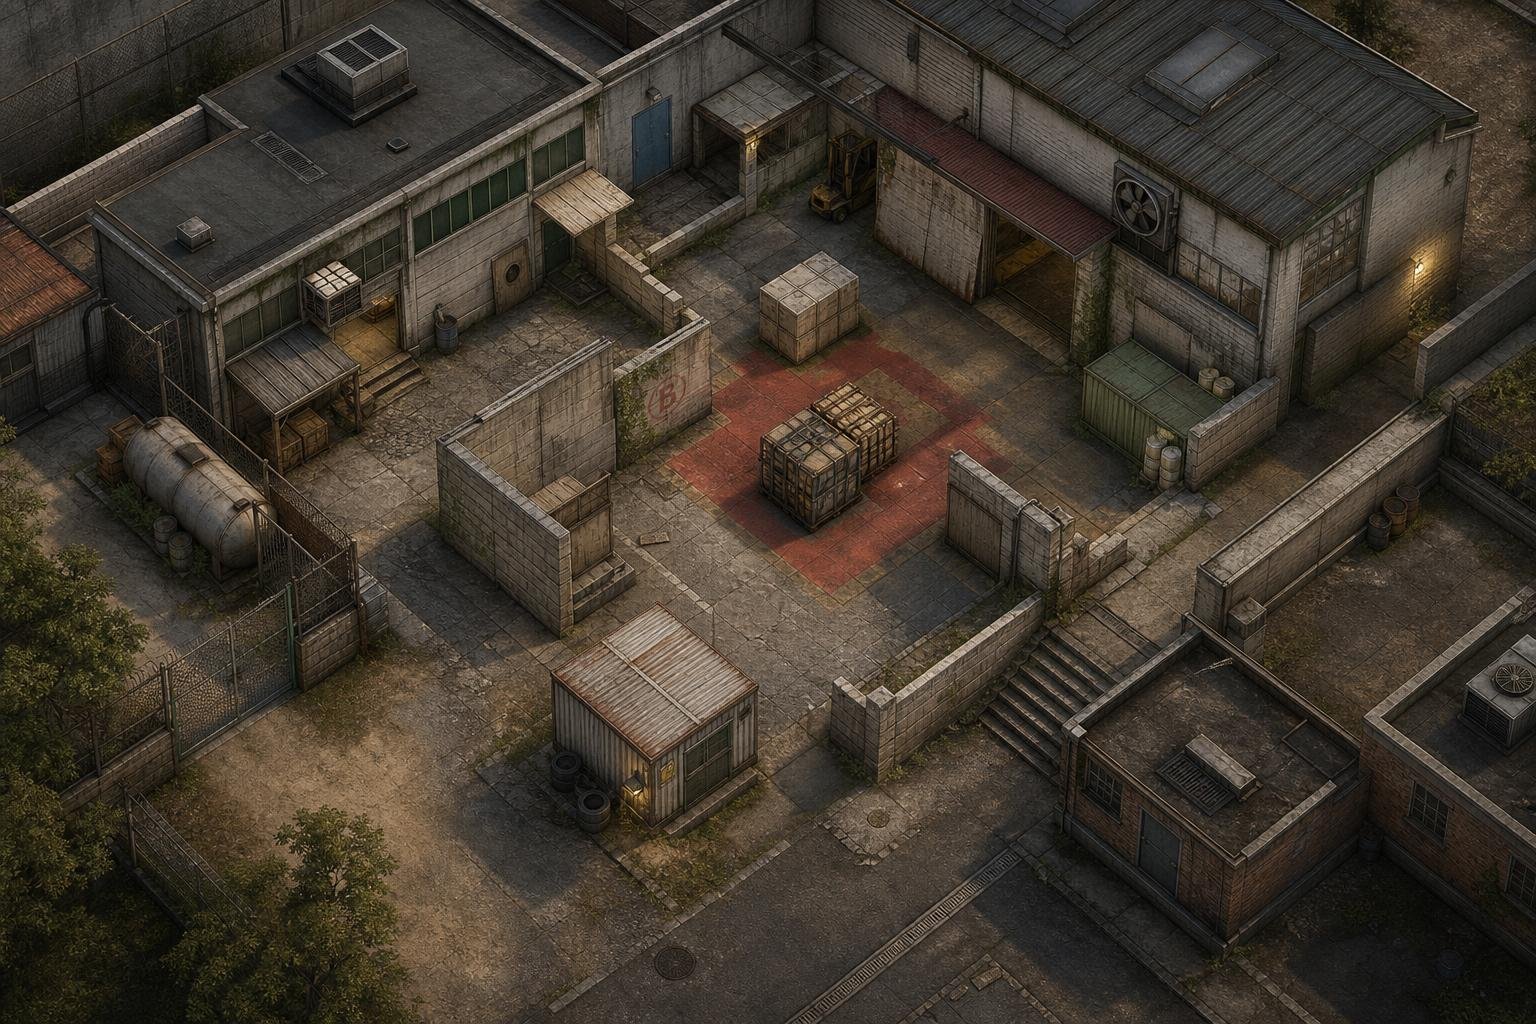
B Site features tighter corridors and more vertical play than A. Key positions include Heaven for CT elevation, Checkers for Vent-based flanks, and Headshot for sneaky post-plant holds. The entries below follow the T-side approach path from B Halls through to the site.
B Halls
-
B Halls is the long corridor leading from the Dumpster area near T Spawn toward B Site. It is the main T-side approach and a common area for early utility exchanges.
-
B Main is the final room before entering B Site, directly connected to B Halls. B Main Boxes are the crates inside this room that players use for cover during pre-site contact.
-
Flash Window is the opening in Sun Room that lets you throw grenades directly onto B Site from a safe position. Using it is practically mandatory during any B execute.
Checkers
-
Checkers is the indoor room near B Site with a distinctive checkered floor pattern. It connects to Vents from the mid side, making it the rotation hub between mid control and B.
-
Back Checkers is the area behind the boxes deeper inside Checkers. CTs often lurk here to catch Vent drops, and Ts clearing Checkers need to swing wide to expose this angle.
Sun Room
-
Sun Room is the painted room connecting B Halls to B Main, identifiable by the sun artwork on its wall. It serves as a staging area before a B execute.
-
Toxic (sometimes called Toxic Barrels) is the area near B Site associated with hazardous containers. It provides cover for post-plant positions and is a call you will hear frequently during retake rounds.
Heaven
-
B Heaven is the elevated wooden ramp overlooking B Site from the CT side. It is the most powerful defensive position on the site because it forces Ts to check a vertical angle while also dealing with ground-level threats.
-
Rafters is the elevated metal platform near Heaven. Players on Rafters can hold similar angles with slightly different exposure.
-
Blue is the area directly underneath Heaven. CTs dropping from Heaven often land here, and it is a common close-range duel spot during retakes.
-
Headshot on B is the dipped area behind the site where only a player’s head is visible. Holding this angle post-plant is extremely effective because it is difficult to trade.
-
Back Site (or Back B) and B Default round out the site. B Default is the standard plant spot visible from both Checkers and B Main, while Back Site covers the deeper area behind the bomb zone.
-
Pit is the sudden dip near the B Ramp approach. Players can hide here to dodge incoming utility or surprise CTs rotating through CT Halls.
Frequently Asked Questions
What are the standard callouts for each bombsite and main choke points on Cache?
A Site callouts include A Main, Squeaky, Quad, Forklift, NBK, Balcony, and A Default. B Site covers B Halls, B Main, Checkers, Heaven, Headshot, and Toxic. Mid choke points revolve around Garage, Boost, Z Connector, White Box, and Vents.
How do competitive players typically name mid and connector areas on Cache?
Most competitive players say Z or Connector for the Z-shaped passage linking CT Halls to Mid. Boost refers to the stackable ledge, White Box is the cover piece between Mid and Highway, and Vents is the critical rotation between Mid and Checkers near B. These names are consistent across FACEIT, ESEA, and Premier matches.
Which Cache callouts are most important to learn first for clear team communication?
Start with mid-related calls: Boost, Z Connector, Vents, and White Box. Mid control dictates the pace of every round on Cache. After that, learn Squeaky, A Main, B Halls, and Heaven because these are the entry and anchor points your team will reference the most during executes and retakes.
How do Cache callout names differ between casual matchmaking and FACEIT-level play?
The core names are the same. The main difference is precision. Casual players might say “boxes” for several different positions, while FACEIT-level players specify Quad, B Main Boxes, or New Boxes. Pro-level comms also add directional qualifiers like “close right” for NBK or “back site” for deeper B positions. Using exact names avoids confusion under pressure.
What’s the fastest way to memorize Cache callouts and apply them in live rounds?
Load a private server with a practice config, walk to each position, and say the callout name out loud. Then play a few casual or retake matches and force yourself to use the correct calls every time you spot an enemy or hear a sound cue. Repetition in real rounds is what makes the names stick. Keeping this cheat sheet open on a second monitor during your first few sessions speeds up the process.
Why isn’t Cache available in CS2’s active map pool, and what’s its current status?
Cache returned to CS2’s workshop and community server rotation in late April 2026 after its Source 2 rebuild. While it is not currently in the Active Duty competitive pool, learning the Cache CS2 layout is vital for community play. It currently does not appear in official Valve Premier or Major qualifying matches.
You can still play it on community servers, FACEIT, and custom lobbies. Many community retake servers already run the updated version for those looking to practice.