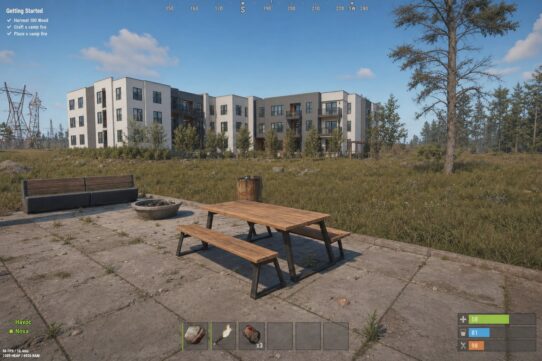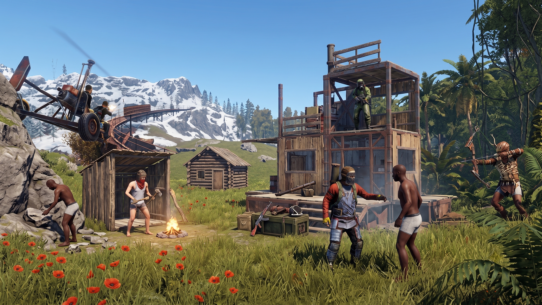

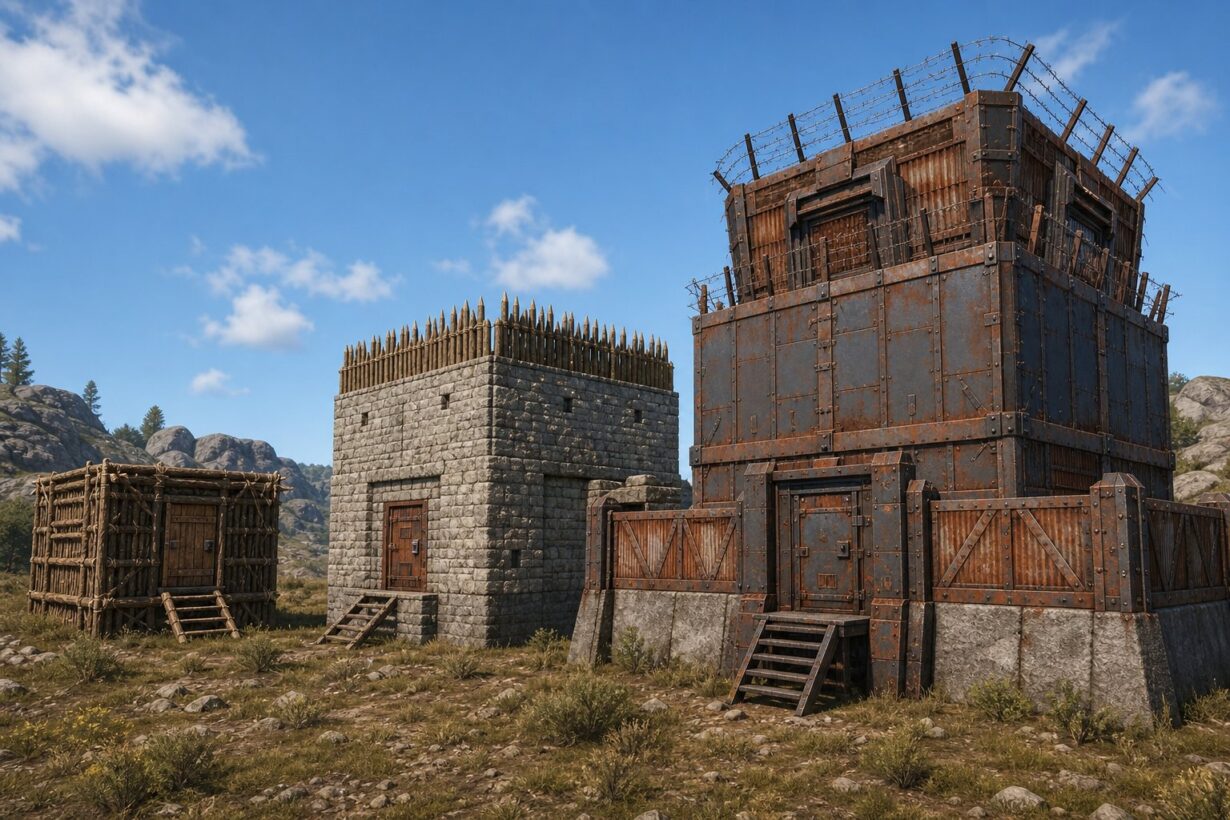

Every wipe in Rust starts the same way: you scramble for resources, slap down some walls, and hope nobody finds you. Since Facepunch Studios keeps the game evolving, getting a code lock on the door remains your first major milestone. But once you survive that first night, the question shifts from “where do I build?” to “how do I build something that actually holds up?” The difference between losing everything at 3 AM and logging back in to a full loot room almost always comes down to your base design.
The best rust base designs balance three things: raid cost (how many explosives it takes to reach your loot), upkeep cost (what you pay the tool cupboard every day), and build speed (how fast you can get it functional on wipe day). Nail all three and you have a base that protects your progress without eating your farming time. Miss even one and you are either bleeding resources or handing raiders an easy target.
This guide walks you through the core building mechanics, material choices, layout principles, and specific builds you can copy or adapt for solo, duo, and group play. Whether you are refining a starter base or planning a midgame main, you will find concrete costs, clear tradeoffs, and a comparison table to help you pick the right design for your situation. Rewardly, a platform built around helping gamers earn rewards for games like Rust, put this together because solid base-building knowledge is the foundation of every successful wipe.
Key Takeaways
- Understanding tool cupboard placement, material upgrade timing, and honeycomb layering prevents the most common raid losses new players experience.
- Choosing a build that matches your team size and farming capacity matters more than copying the most expensive design you can find.
- A direct comparison of resource costs, raid resistance, and intended player count makes it easier to pick the right layout for each stage of a wipe.
Core Building Rules Every Player Should Know
Before you worry about specific layouts, you need to internalize the rules that govern every structure in Rust. The tool cupboard, building privilege, stability, and lock systems dictate what you can build, who can modify it, and where raiders will look for weaknesses.
How The Tool Cupboard Controls Ownership And Upkeep
The tool cupboard (TC) is the heartbeat of your base. It establishes a protective radius that blocks unauthorized players from placing structures, and it collects upkeep resources that keep your walls from decaying. If your TC runs dry, your base starts crumbling within hours.
Place the TC in the most protected spot you can manage, typically deep inside your core behind multiple doors and walls. You want to make the raid path as long and expensive as possible to deter attackers. A common beginner mistake is tucking it into a corner room on the ground floor that only takes two or three walls to reach from outside. Raiders who find your TC first can grief your entire base by placing their own structures inside your footprint.
Stock the TC with at least 24 to 48 hours of upkeep materials so you have a buffer during offline hours. As noted in a defense-focused guide on Guild Order, a well-placed TC combined with smart compartment design dramatically increases the explosive cost to reach your valuables.
What Building Privilege Means During Defense And Expansion
Building privilege is the authorization granted to anyone who is authed (authorized) on a TC. While you hold building privilege inside the TC’s radius, you can place, upgrade, and rotate structures. Anyone without it cannot build within that zone, which is your primary defense against foundation raids and grief walling.
During a raid, attackers who destroy your TC gain building privilege and can seal you inside your own base or place walls to funnel other players away. That is why layered TC protection is critical.
When expanding, remember that building privilege extends roughly 16 meters from the TC in every direction, including vertically. If your expansion pushes past that radius, you will need an external TC to cover the new area. Plan your footprint so the main TC covers your core, and use satellite TCs for compound walls or external structures.
How Stability, Access, And Locking Shape A Safe Layout
Every building piece in Rust has a stability value that decreases the farther it sits from a foundation. Ground-floor foundations start at 100 percent stability, and each floor above loses a percentage based on its support. If stability drops too low, the piece cannot be placed. This means tall, narrow towers without enough foundational support will cap out quickly.
Access control is just as important. Every doorway should have a code lock or key lock, and you should use code locks exclusively once you can craft them. Key locks are a liability because losing the key gives anyone entry. Organize your doors so that reaching your loot room requires passing through the maximum number of locked doors possible.
A solid rule of thumb: at least three doors between the outside of your base and your main loot, with an airlock on every exterior entrance. An airlock is a small buffer room between two doors that prevents someone from rushing straight inside when you open up. If you skip airlocks, you are practically inviting door campers in.
Material Progression And When To Upgrade
Choosing when and where to upgrade each wall tier is one of the most impactful decisions you make during a wipe. Upgrading too early drains resources you need for guns and components. Upgrading too late leaves you exposed. The right approach is sequential and targeted, not blanket upgrades on everything at once.
Twig, Wood, And Stone In Early Survival
Twig is only for placing frames. Never leave a twig wall standing; it can be destroyed with a rock in seconds. Wood is a step up but still vulnerable to fire and melee tools. One incendiary rocket or a few flame arrows can burn through a wooden wall.
Stone is your real starting material. It resists fire, costs nothing but a pickaxe and some hitting time, and requires explosives to breach. On wipe day, your first priority after placing a twig frame is upgrading everything to stone as fast as possible. A 2×2 stone core with a triangle airlock costs roughly 5,000 to 7,000 stone, which you can farm in a single run near most spawn areas.
When Sheet Metal Becomes Worth The Cost
Sheet metal walls take twice the explosives to raid through compared to stone. A stone wall costs 2 satchels to break, while sheet metal requires 4. That doubling makes sheet metal the best value upgrade for your most critical walls, specifically the walls surrounding your TC and loot room.
The catch is cost. Sheet metal requires metal frags, which means smelting time and furnace space. Efficiently managing your metal frags allows for faster upgrades to your core. Prioritize upgrading only the inner core walls first. Leave outer honeycomb layers at stone. This strategy maximizes your raid cost per resource spent.
A typical midgame sheet metal upgrade for a solo base’s core might run around 1,500 to 3,000 metal frags, depending on the layout. As Shockbyte’s building guide notes, smart use of sheet metal on key walls is more efficient than upgrading the entire base uniformly.
Where Armored Makes Sense And Where It Does Not
Armored walls are the toughest in the game, requiring 8 rockets or roughly 2 C4 to destroy. They also cost high-quality metal (HQM), which is the slowest resource to farm and the most contested.
Use armored pieces sparingly. The best spots for armored upgrades are your TC floor and ceiling, the walls directly enclosing your most valuable loot, and any floor pieces that protect against foundation raiding. Armoring an entire base is almost never practical because the upkeep drain on HQM will eat your reserves every day.
A common mistake is armoring external walls. Raiders rarely hit exterior walls anyway; they path inward through doors and soft-side walls. Save your HQM for the two or three pieces that form the last barrier before your TC and main loot stash.
Defensive Layout Principles That Actually Matter
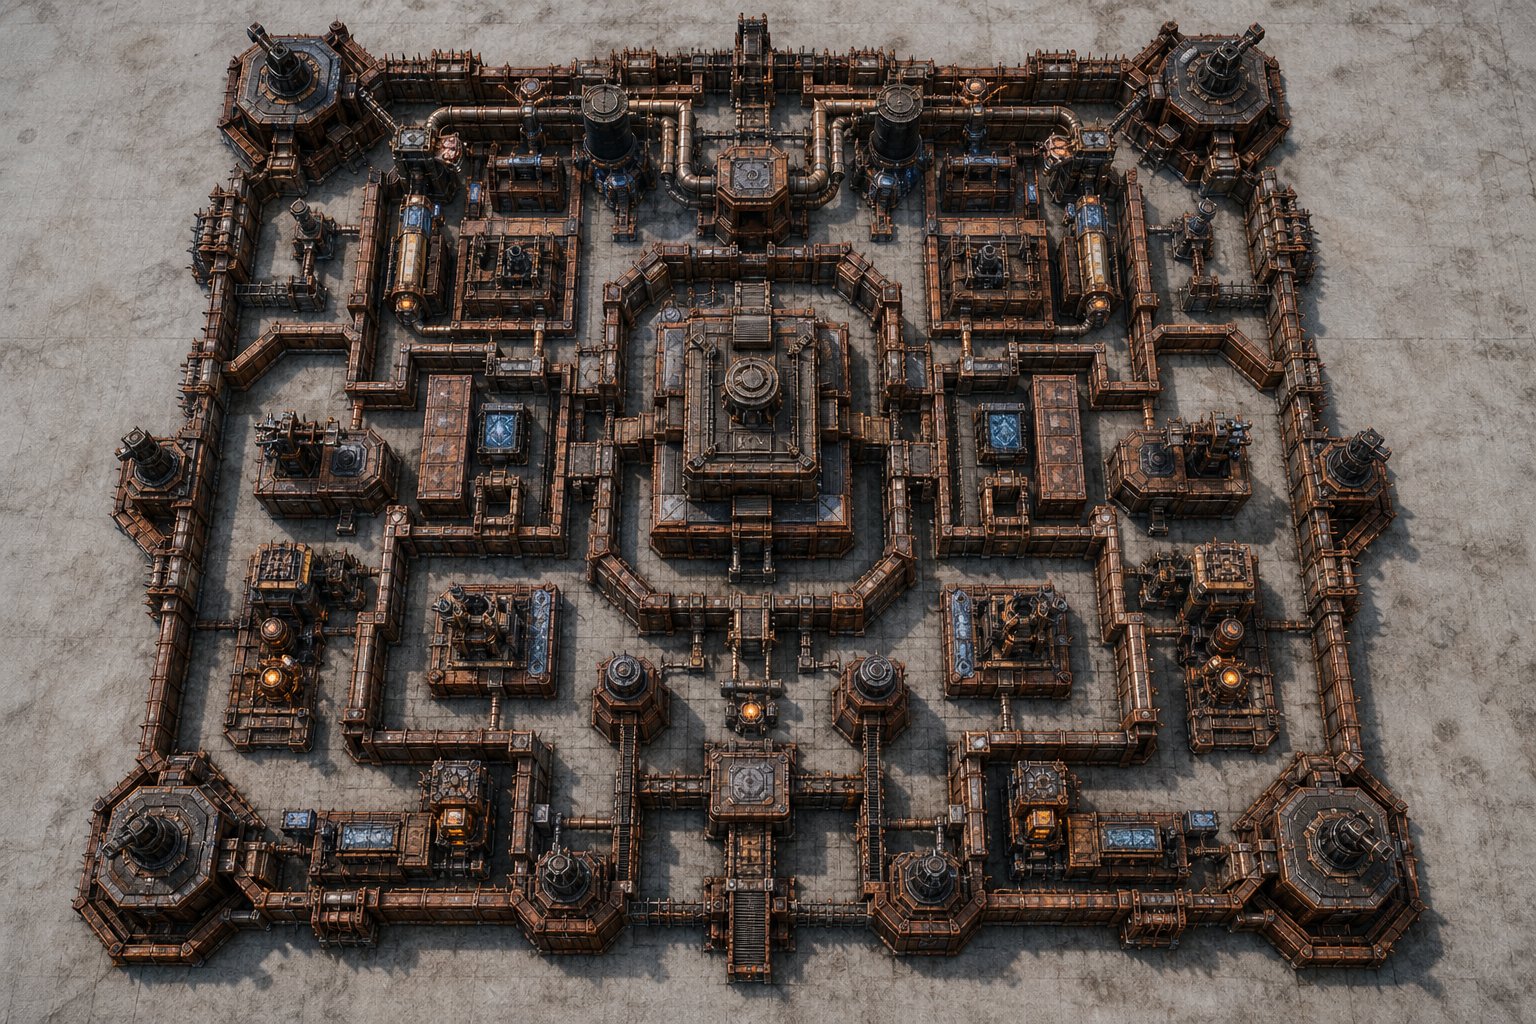
Good materials on a bad layout still get raided. The way you arrange rooms, doors, and walls determines how many explosives it costs to reach your valuables. Honeycomb layering, loot room placement, and entry design are the three pillars that separate a target from a fortress.
Bunker Base and Honeycomb Basics For Better Raid Protection
Honeycombing means surrounding your core rooms with extra layers of empty walls. For extra protection, a bunker base design uses stability mechanics to seal off the core without traditional doors. A single layer of honeycomb on a 2×2 base nearly doubles the raid cost because attackers must destroy two walls instead of one to reach any interior room.
The most efficient honeycomb uses triangular foundations around a square core. A 2×2 bunker is a popular choice for players wanting maximum security on a budget. Triangles cost fewer resources than full squares but add the same wall layer to the raid path. For a standard 2×2, a full triangle honeycomb ring adds roughly 3,000 to 4,000 stone and pushes the minimum raid cost from 4 satchels to 8 or more.
As detailed in a raid defense breakdown on Falcon Rust, even one honeycomb layer dramatically changes the economics for attackers. Two layers is ideal if you can afford the upkeep; three layers starts costing more in daily upkeep than it saves in deterrence.
Smart Loot Room Placement And Pathing
Your loot room should sit at the geometric center of your base, surrounded by the maximum number of walls, doors, and honeycomb layers in every direction. If your loot room shares a wall with the outside of your base, you have a one-wall raid to your most valuable items.
Spread high-value loot across multiple small rooms instead of one giant vault. This forces raiders to guess which room holds the good stuff and blow through additional doors for each check. Even if they breach one room, they may not find your sulfur or component stash in another.
Path your doors so that daily access to the loot room feels natural but still requires opening several locks. Three doors minimum between the outside and main loot is the baseline. Five or more doors is better for a midgame main base.
Airlocks, Peaks, And Doors That Slow Raiders Down
An airlock is a two-door buffer at every entrance. The outer door opens into a tiny room; only after closing that door do you open the inner one. This prevents door campers from rushing you, and it adds one more door to the raider’s path.
Roof peaks (triangle roof pieces angled upward) block raiders from building on top of your base and dropping through ceilings. Always cap your top floor with peaks or roof pieces. An open roof is a free entry point.
Door placement matters more than most new players realize. Use sheet metal doors instead of wooden doors as soon as you can. Wooden doors go down to a couple of satchels; sheet metal doors require significantly more. Garage doors are the best option once you find the blueprint because they combine high health with a wide opening that doubles as a shooting port. According to a raid-proofing guide on RustBaseDesigns, staggering door types throughout your base forces raiders to bring a wider variety of tools, increasing their cost and planning burden.
Starter Footprints For Day One Survival
Your starter base has one job: secure a sleeping bag, a TC, a couple of boxes, and a workbench behind locked doors before someone finds you. Speed and simplicity beat everything else here.
What A Good Starter Needs On A Fresh Wipe
A solid starter base is a 2×1 or 2×2 stone core with a triangle airlock on the front. This footprint gives you room for a tool cupboard, a Tier 1 workbench, a furnace, and a few storage boxes. Total stone cost for a 2×1 with airlock runs about 3,500 to 4,500 stone. A 2×2 with airlock needs closer to 5,500 to 7,000.
The key features to include on day one:
- Code-locked airlock so door campers cannot rush you
- TC placed against the back wall, away from the entrance
- Sleeping bag on the floor so you respawn inside
- Small furnace running metal for a code lock and sheet metal door
Build it fast, upgrade to stone immediately, and do not over-decorate. Your starter does not need a shooting floor, auto turrets, or a compound wall. It needs to exist, be locked, and survive until you can either expand it or move to a main base.
As highlighted by Falcon Rust’s starter base guide, proven starter layouts for solo through trio play all prioritize speed and a minimal resource footprint. The best starters go up in under 10 minutes with one farm run.
Cheap Expansion Paths That Do Not Trap You Later
The worst thing a starter can do is box you in. If your layout does not allow easy expansion, you will end up tearing it down and rebuilding when you need more space. That costs time and leaves you exposed.
Design your starter so that at least one wall faces open ground where you can attach additional squares or triangles. A 2×2 with triangles on two sides gives you natural honeycomb and room to expand in the other two directions.
Avoid placing external TCs too early. If you lock yourself into a small TC radius, expanding outward means farming for a second TC and dealing with overlapping privilege zones. Instead, keep your starter compact and plan your main base as a separate, intentional build once you have a Tier 2 workbench and enough stone, metal, and HQM to commit.
Three Practical Builds By Team Size
What works for a solo player running a quiet corner of the map does not work for a four-person group contesting monuments. Here are three builds matched to different team sizes, each with approximate resource costs, strengths, and honest weaknesses.
Budget Solo Build With Fast Setup And Low Upkeep
Layout: 2×1 core with triangle airlock and a single layer of triangle honeycomb.
Build cost: approximately 6,000 stone, 500 metal fragments
Daily upkeep: roughly 1,500 stone, 125 metal fragments
Doors to loot: 3
Intended player count: 1
This is the classic solo workhorse. You can throw it up in one farm run, upgrade to stone, and have a functional base within your first 15 minutes on wipe day. The triangle honeycomb adds meaningful raid cost without ballooning your upkeep. According to RustBaseLab’s solo collection, compact builds like this consistently rank among the most popular solo designs because they balance efficiency and security.
Strengths: Extremely fast to build, low daily upkeep, easy to abandon if you need to relocate.
Weaknesses: Limited storage, no room for a Tier 3 workbench, and a determined raider can still push through with 6 to 8 satchels.
Defensible Duo Base Design For Midgame Security
Layout: 2×2 core with triangle honeycomb, sheet metal inner walls, a roof peak, and a separated TC room.
Build cost: approximately 15,000 stone, 5,000 metal frags, 50 HQM
Daily upkeep: roughly 3,500 stone, 1,200 metal frags, 15 HQM
Doors to loot: 5 (mix of sheet metal and garage doors)
Intended player count: 1 to 2
This duo base design is where most small groups settle for their midgame main. It provides enough space for storage while keeping the raid path convoluted for anyone trying to reach the core. The 2×2 core houses your workbench and loot, wrapped in a honeycomb ring with an isolated TC room that adds an extra wall layer for raiders to deal with. Upgrading the core walls to sheet metal doubles the explosive cost on the most critical barrier. A detailed duo base breakdown on BisectHosting shows that builds in this material range typically require 12 or more rockets to reach main loot.
Strengths: Reasonable upkeep for a duo, enough space for a Tier 3 workbench, solid raid cost.
Weaknesses: HQM upkeep requires regular recycler runs, footprint attracts more attention than a 2×1.
Larger Group Build With Layered Storage And Access Control
Layout: Square or hexagonal compound with multiple compartments, 2 to 3 honeycomb layers, internal walls at sheet metal or armored, multiple airlocked entrances, and a central TC vault.
Build cost: approximately 50,000+ stone, 20,000+ metal fragments, 300+ HQM
Daily upkeep: roughly 10,000 stone, 5,000 metal fragments, 75+ HQM
Doors to loot: 8 to 12
Intended player count: 3 to 5+
Group bases need distributed storage because losing one room should not mean losing everything. Split loot across multiple sealed compartments so that even a partial raid only costs you a fraction of your stash. Assign door codes by access level: everyone gets the outer airlock codes, but only designated players get the TC room code.
Compound walls and external TCs extend your protected building zone for turret placements and farming areas. RustBaseLab’s trio base collection includes builds in this range with raid costs exceeding 20 rockets, making them genuinely unappealing targets for all but the most committed raid groups.
Strengths: High raid cost, compartmentalized loot, room for multiple workbenches and turrets.
Weaknesses: Requires coordinated farming, high daily upkeep demands, and slow to build without a full team online.
Design Comparison At A Glance
Picking the right build is easier when you can see the numbers side by side. The table below compares the three builds from the previous section across the metrics that matter most.
How To Compare Size Cost Player Count And Raid Resistance
| Feature | Budget Solo (2×1) | Solo/Duo Main (2×2) | Group Compound |
| Footprint | 2×1 + triangles | 2×2 + honeycomb ring | Multi-square compound |
| Players | 1 | 1–2 | 3–5+ |
| Stone cost | ~6,000 | ~15,000 | ~50,000+ |
| Metal cost | ~500 | ~5,000 | ~20,000+ |
| HQM cost | 0 | ~50 | ~300+ |
| Daily upkeep (stone) | ~1,500 | ~3,500 | ~10,000 |
| Doors to loot | 3 | 5 | 8–12 |
| Approx. raid cost | 6–8 satchels | 12+ rockets | 20+ rockets |
| Build time | 10–15 min | 30–45 min | 1–2+ hours |
When reviewing base designs on sites like RustBaseDesigns, pay attention to the “rockets to main loot” figure. That single number tells you more about a build’s practical value than any screenshot or aesthetic rating.
Which Layout Fits Your Wipe Stage And Farming Capacity
Early wipe, you want the budget solo build regardless of team size. Getting a locked, stone base down fast matters more than optimizing raid cost. You can always build a better main base later.
Midwipe, transition to the solo/duo main once you have a Tier 2 workbench and a consistent metal supply. If you are running duo, this build holds up well through the rest of the wipe for most server populations.
Late wipe or high-pop servers demand the group compound if you are running trio or larger. The upkeep is steep, but by that point your group should be pulling enough resources from monument runs to sustain it. If you cannot keep the TC stocked, you are building too big for your farming capacity, and that is a more common failure than getting raided.
Common Building Mistakes That Get Bases Raided
Even solid designs fail when executed poorly. These are the mistakes that show up wipe after wipe, and a breakdown on Cobalt Lab confirms they remain the most frequent reasons players lose bases.
Overinvesting In Size Before Defense
A sprawling base with thin walls is easier to raid than a compact base with thick ones. New players often expand their footprint by adding rooms and floors before they have even honeycombed their core. Every square of floor space you add increases your daily upkeep and gives raiders more angles to attack.
Build inward before you build outward. Add honeycomb, upgrade to sheet metal, and install garage doors before you worry about adding a third floor or an external workshop.
Misplacing The Tool Cupboard Or Core Loot
If your TC sits behind a single wall on the ground floor, an attacker can blow one wall, take over building privilege, and grief your entire base. The TC belongs in the deepest, most protected compartment you have. Ideally, it should require going through more walls than your loot room does.
Similarly, loot stored along exterior walls is one boom away from being exposed. Always push your most valuable storage to the geometric center of your base and spread it across multiple rooms.
Using Expensive Materials In The Wrong Places
Armored exterior walls are a waste of HQM. Raiders pick the cheapest raid path, which usually runs through doors, not armored panels on the outside edge. Spend your HQM on the TC floor, the TC ceiling, and the walls immediately surrounding your most concentrated loot.
Sheet metal on outer honeycomb is also questionable. Those layers exist to waste raider explosives; stone does that job for a fraction of the cost. Save sheet metal for the inner core where every additional satchel or rocket you force the attacker to spend counts the most.
Rewardly For Rust Players Looking To Gear Up
How Rewardly Fits Into A Rust Player’s Routine
Building a solid base is only half the equation in Rust. The other half is getting the skins and gear that make the game more enjoyable. Rewardly is a gamified rewards platform designed specifically with gamers in mind, and Rust players are a natural fit.
You earn a virtual currency called Coins by completing surveys, offerwall tasks, watching videos, and referring friends. Those Coins can be redeemed for Rust skins at Steam Community Market value with no markup, or for Steam gift cards at face value. The exchange rate is straightforward: 1,000 Coins equals $1 USD, and you can start redeeming at just $5.
The platform runs as a Progressive Web App, so you can pull it up between farm runs or while your furnace is smelting. It fits neatly into downtime without interrupting your gameplay.
Ways To Earn Toward Rust Rewards Without Deposits
Rewardly operates on a closed-loop model. You never need to deposit real money. Every Coin comes from free actions: completing a survey, trying an app through an offerwall, watching a video, or having a friend sign up through your referral link.
The referral program scales with your level, offering 3 to 8 percent ongoing commission on your friends’ earnings. For a group of Rust players who are all active on the platform, that adds up quickly.
Approximately 70 percent of third-party revenue is passed through to users, which means you keep the majority of the value your activity generates. Whether you are saving toward a specific Rust skin or stacking Steam gift cards for the next sale, you can start earning toward Rust rewards on Rewardly without spending a dollar.
Frequently Asked Questions
What are the most effective base layouts for surviving early raids and progression?
A 2×2 stone core with a triangle airlock is a reliable start. For better defense, look into a bunker base layout that forces raiders to use explosives rather than picking through doors. It is cheap enough to build in a single farm run and doubles your raid cost compared to an unhoneycombed box. Focus on getting stone walls, a code lock, and three doors between the outside and your loot before worrying about anything else.
Which solo base designs provide strong defense while staying cheap to build and maintain?
The 2×1 with triangle honeycomb is the cheapest defensible solo option, costing around 6,000 stone and requiring minimal daily upkeep. For midgame, a 2×2 bunker with sheet metal inner walls pushes raid costs to 12 or more rockets. This duo base design keeps upkeep manageable while offering high protection for your valuables. You can browse over 50 solo-specific designs on RustBaseLab filtered by build cost and raid resistance.
How do I choose the right base footprint for my team size and playstyle on a wipe?
Match your footprint to your group’s farming capacity, not ambition. Solo players should stick to 2×1 or 2×2 footprints. Duos can comfortably sustain a honeycombed 2×2 with sheet metal. Trios and larger groups can scale to multi-compartment compounds, but only if they can keep the TC stocked daily. If upkeep farming takes longer than monument runs, your base is too big.
What are the best ways to add honeycomb and external walls without wasting resources?
Use triangle foundations around your square core for the most cost-efficient honeycomb. Triangles use fewer resources per wall layer than full squares. Keep honeycomb walls at stone rather than sheet metal, since their purpose is to waste raider explosives cheaply. Add external stone walls or high external walls around your compound only after your core is fully honeycombed and upgraded.
Where can I find up-to-date base blueprints and building guides for the current meta?
Several community sites maintain regularly updated libraries. RustBaseDesigns hosts over 650 searchable designs with cost breakdowns and video tutorials. RustBaseLab updates daily and lets you filter by team size and base type. Both sites include raid cost estimates so you can compare builds on the metric that matters most.
What tools or apps help plan a base layout and calculate building costs before placing anything in-game?
Rust Base Finder lets you input your team size and preferences to find matching designs with pre-calculated costs. RustBaseDesigns’ search tool offers advanced filters for build cost, upkeep, and features like bunkers or shooting floors. For in-game planning, Rust’s building plan lets you place twig frames for free to test layouts before committing resources, which is the fastest way to verify a design fits your chosen location.